Supplies:
Showing posts with label Crafts. Show all posts
9.04.2012
Make Your Own Stamps
Finley has been really into stamps lately and I've been collecting milk caps for months now so I knew this would be the perfect craft project for us. It's quick and easy and fun for the kids.
3.29.2012
Scholastic Dollar Download Sale
The Dollar Download Sale at Scholastic is still going on. They have some great activity books, worksheets, mini-books and learning activities.
I've been wanting to put some file folder activities together and I found an Alphabet File Folders Game and a Numbers & Counting File-Folders Games. I love that all the work has been done for me. All I have to do is print out the pages, do a little cutting and taping and Finley is all ready to play. If you use the code LEARNINGJAN you'll get each of these for only $0.70!
Scholastic also has a bunch of free printables. This is a fun and free way to keep your kids entertained on a rainy day like today.
3.20.2012
Fluffy Bunny Craft
I have been seriously slacking on the crafting side of things lately. I'm full of excuses - working on taxes (done!), refinancing the house (in progress), taking care of sick kids (all better and then they got sick again), training for a half-marathon through Team in Training (3 months to go!). This list goes on and on....
But Easter is quickly approaching and I have very few decorations for the house so I thought we should get our craft back on. We started with this cute and simple paper plate bunny.
Supplies
Cover the plate with a whole lotta glue and let your kids cover it in cotton balls. This brought a smile to Finley's face.
Cut out two big white pieces and two small pink pieces for the ears. Glue those together and glue them to the back of the plate. Then add the eyes, nose, mouth and whiskers. I'm not sure if they look more like bunnies or kittens. Either way they're cute and it kept the kids happy for a bit. And hopefully this will kick start my crafting!
But Easter is quickly approaching and I have very few decorations for the house so I thought we should get our craft back on. We started with this cute and simple paper plate bunny.
- Paper plate
- White and pink paper
- Cotton balls
- Black and pink pipe cleaner
- Pink pompom
- Googly eyes
- Glue
- Scissors
Cover the plate with a whole lotta glue and let your kids cover it in cotton balls. This brought a smile to Finley's face.
And made Grady grimace. He did not like the mess of the glue.
3.13.2012
Painter's Tape - It's Not Just for Painting
I've mentioned before how much I loathe painter's tape when it's used for it's intended purpose. But when it's used for fun kids' activities, I LOVE it!
A few weeks ago I got the tape out and the kids and I made a whole tape city, complete with roads around the house. We were all sick with colds so it kept everyone happy and entertained for a few days. It's a great activity for rainy days like today!
3.02.2012
Home Depot: Kids Workshop - Race Car
The Home Depot offers free, hands-on activities for kids age 5 - 12 on the first Saturday of each month. Each workshop teaches kids do-it-yourself skills and tool safety. Along with creating a fun craft, kids will take home a free Home Depot Kids Workshop apron, commemorative pin and certificate of achievement.
Take your kids to Home Depot this Saturday, March 3rd and they can build a #20 Race Car!
Details ---
Where: Home Depot
When: Saturday, March 3rd 9 a.m. - 12 p.m.
Cost: Free!
More Info: Here.
Details: For kids age 5 - 12. Check with your local Home Depot to verify they are participating.
Details ---
Where: Home Depot
When: Saturday, March 3rd 9 a.m. - 12 p.m.
Cost: Free!
More Info: Here.
Details: For kids age 5 - 12. Check with your local Home Depot to verify they are participating.
2.14.2012
Fun with Flubber
We've been stuck at home with colds for the past few days which means we've been watching way too much TV. I decided to give Mr. Netflix a break and find something easy and entertaining for the kids to do. And Flubber did the trick. This stuff is great. It's easy to mix up, keeps the kids happy for a while and there's really no clean up!
Supplies:
- 1/4 teaspoon Borax
- 4 ounce bottle of glue
- Food coloring
- Warm water
- Mixing bowl
A quick note: Borax is not dangerous (as some husbands might have you believe, namely mine!). Yes, it can kill ants but it also works well as a cleaner. Treat it like any other cleaning product you have in your house - put it on a high shelf or in a locked cabinet out of the reach of kids.
Pour a 4 oz. bottle of glue into a mixing bowl or dish. Fill the glue bottle with warm water, add some food coloring and shake shake shake! We made ours pink in honor of Valentine's Day. Pour the colored water into the glue and mix it together.
I don't have any pictures of the next step because your hands will get all goopy and you want to work kind of fast. Mix 1/4 teaspoon of borax with 1/4 cup water. Add to the glue and water mixture and mix it up quickly and then knead it until you get a big old blob.
Then start rolling it and flinging it and bouncing it and hiding things in it and stamping objects into it. Pretty much whatever you want.
Grady wasn't so sure about it at first. I don't think he liked the slimy feel of it. But he got over it and had fun in the end. And Finley stood at the counter for 30 minutes playing with it. Hooray for another "go to" toddler activity!
Oobleck is another fun activity for toddlers (and adults). But that stuff takes quite a bit of supervision and a lot of cleanup if you look away for even a few seconds. If you want easy and clean - go for the Flubber!
Labels:
Crafts,
Flubber,
Gak,
Rainy Day Fun,
Toddler Activities
2.12.2012
Get Crafty Saturdays at BAM: Twist It!
Get ready for another fun Crafty Saturday at the Bellevue Arts Museum. View Mary Lee Hu's jewelry pieces in the Knitted, Knotted, Twisted & Twined exhibit. Then try your hand at making a hardware bracelet using wires in a variety of colors and textures.
Where: Bellevue Arts Museum
When: Saturday, February 18th and Saturday, February 25th at 1 p.m. - 3 p.m.
Cost: $2 materials fee or free with admission
Details: For kids 4 - 12
More Info: Here
2.10.2012
Finger Painting Bags
I knew these two little kids were not going to wait patiently while I got dinner ready tonight so I pulled another trick out of my Pinterest bag - Finger Painting Bags. This is genius. I mean completely and totally genius. Finger painting without the mess of finger painting. How cool is that?
Supplies:
Tape the bag to the table over a sheet of paper. You don't need the paper but it will help your kids see the colors better. Then let them "paint" away.
Finley had fun showing her little brother the "right" way to paint. He doesn't look pleased, does he?
These bags can be used again and again. After the kids did their painting at the table, we moved them to the fridge. And after they get bored with that I'm going to peel them off and save them for another "I'm bored, Mommy!" kind of day.
Check out the Crafts and Activities page or my post on 10 activities to help avoid a toddler meltdown for more ideas on keeping your kids entertained.
Supplies:
- Paint
- Ziploc bags
- Tape (Painters tape works well)
- Sheet of white paper
Tape the bag to the table over a sheet of paper. You don't need the paper but it will help your kids see the colors better. Then let them "paint" away.
Finley had fun showing her little brother the "right" way to paint. He doesn't look pleased, does he?
These bags can be used again and again. After the kids did their painting at the table, we moved them to the fridge. And after they get bored with that I'm going to peel them off and save them for another "I'm bored, Mommy!" kind of day.
Check out the Crafts and Activities page or my post on 10 activities to help avoid a toddler meltdown for more ideas on keeping your kids entertained.
2.08.2012
Valentine's Day Paper Heart Wreath
I'm very excited to have my very first guest post -- you can also see this craft over at Sounds Fun Mom. If you live South of Seattle and you're looking for some fun, check out Maegen's page!
Since Valentine's Day is nearing, we've been doing a lot of Valentine's crafts. I found this cute paper heart wreath on Pinterest and thought it would be fun to make. I love crafts that are simple and use supplies you already have in your house - especially the crafts that use only paper and staples like this one.
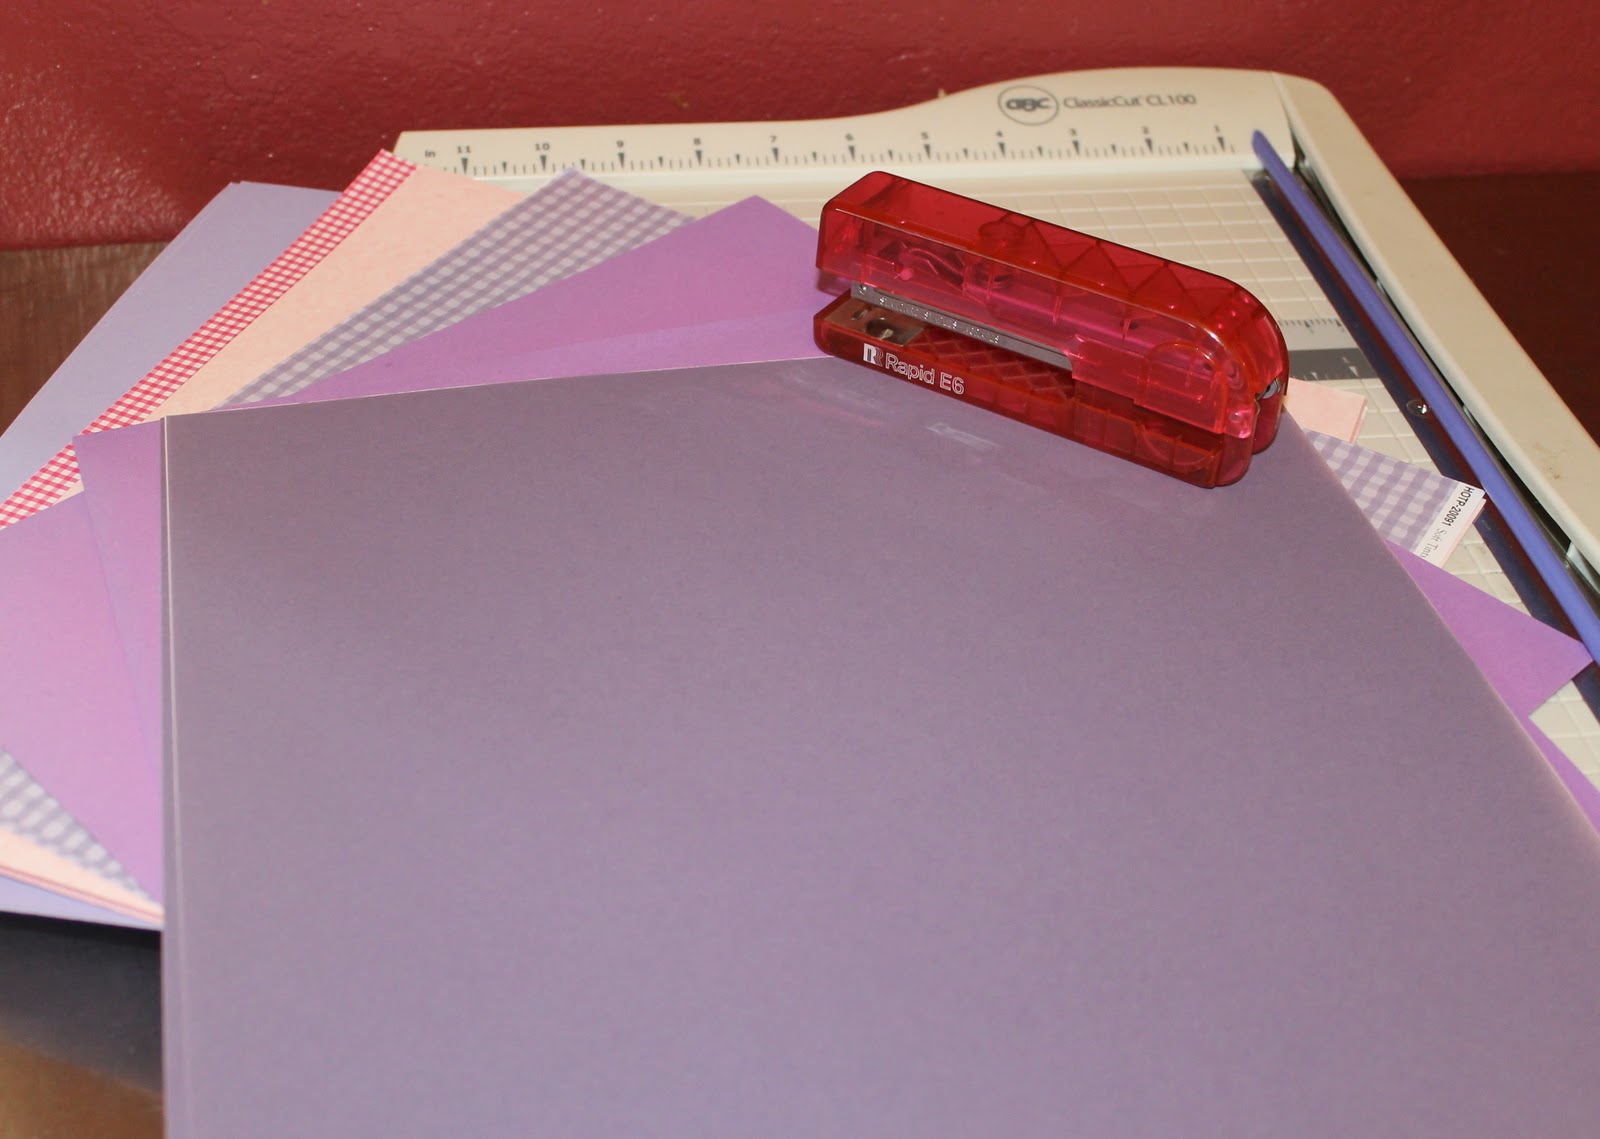
Supplies:
- Paper (thick card stock paper is best)
- Paper cutter or scissors
- Stapler
- Ribbon
Fold each strip in half, loop it around and staple. You can use double-sided tape or mini-glue dots, but I love my good old stapler!
Continue folding and looping and stapling until you complete all the hearts. Then lay them on a flat surface in the shape you want. (This photo shows more hearts than I used in the end. I did a little investigative work during this craft and found out that heavier paper works the best and using fewer hearts will help the wreath to hold it's shape.)
Staple the hearts together.
Then hang it on the wall and admire your craftiness!
My 3-year-old is a little too young to do this craft on her own, but she had fun folding the paper and making shapes out of the hearts before I stapled them all together.
If you're looking for more Valentine's crafts for kids of all ages, check out the Crafts and Activities page. I'm always trying out new crafts with my kids. I hope decide to try a few with your kids, too!
Paper Plate Heart
Here's another no-mess (ok, maybe a little) and high fun Valentine's craft for your kids. You probably already have everything in your craft drawer and pantry for it.
Supplies:
Cut the paper plate into a heart shape.
The next part is supposed to be fun for your kids. That is, if you have normal kids. My kids cried when I told them they could rip up the paper into tiny pieces. What's up with that?
Once the tears have dried, spread glue all over the heart plate and let your kids glue the paper on it until the heart is covered. Finley had a great time making this heart and had an even better time delivering a special Valentine to her Gramps over the weekend.
Supplies:
- Paper plate
- Construction paper
- Glue
- Scissors
Cut the paper plate into a heart shape.
The next part is supposed to be fun for your kids. That is, if you have normal kids. My kids cried when I told them they could rip up the paper into tiny pieces. What's up with that?
Once the tears have dried, spread glue all over the heart plate and let your kids glue the paper on it until the heart is covered. Finley had a great time making this heart and had an even better time delivering a special Valentine to her Gramps over the weekend.
2.03.2012
Fun with Froot Loops
I got the idea of doing some crafts with Froot Loops from a friend of mine. Finley was so excited when I pulled out a box of yummy looking cereal. She looked a little upset when she realized they were for a craft, but she quickly got on board when I told her she could eat the leftovers that we didn't use for the rainbow.
Supplies:- Froot Loops
- One sheet of paper
- Glue
- Cotton balls or marshmallows
If you have an older child you can take the opportunity to teach them about rainbows. If you have a toddler, just ask them to sort the Froot Loops by color.
We added cotton balls for the clouds. I thought about doing mini-marshmallows but I knew they'd be in Finley's mouth before we could get them on the page.
Sometimes I'm kinda "meh" about doing crafts. I'm happy to do them with Finley because it makes her happy and keeps her occupied. But I actually thought this one was a lot fun. I don't know why. Maybe because rainbows are cheery and happy or maybe because there was food involved. Either way it was a lot of fun for us to do together.
Check out the Crafts & Activities page for more fun ideas to keep your toddlers busy.
1.24.2012
Valentine's Lovebird
I found this lovebird Valentine's craft on Meet the Dubiens while pinning away on Pinterest the other day. It's really easy, you probably have all the supplies already (if you don't just make do with what you have) and there's no mess! That's my kind of craft.
Supplies:
Supplies:
- Large sheet of paper
- Colored foam or paper
- Glue
- Scissors
- Googly eye
- Marker
Cut out a large heart for the body and smaller hearts for the wings, tail, feet, lips and head feathers. If you have a youngish kid, you'll have to do the cutting. If you're kid is approved to use scissors, let 'em at it.
Glue the hearts onto a large sheet of paper to make the bird. Add a googly eye. Then draw the legs with the marker and glue the feet onto the bottom. Easy-peasy!
We're still working on my daughter's writing skills. That's supposed to say "TWEET" but she kept running out of room so the letters just went where there was space. I still think it's pretty cute!
Looking for more Valentine's crafts? Check out the Crafts and Activities page.
1.19.2012
Valentine's Day Paper Heart
Supplies:
- Red, pink and white paper (8 1/2" x 11")
- Paper cutter or scissor
- Stapler
- Ribbon
Fold over one of the strips, fold over another strip, pinch them together at the ends and staple. If you want to get fancy, you can use glue or double-sided sticky tape. But I don't really do fancy so I'm sticking with the stapler.
Make another heart with two strips of paper. Don't staple it yet. Connect it with the first heart and then staple them together.
Continue until you have a chain of 11 hearts. Then make another chain with 11 hearts.
Take the two chains and staple them together at the bottom.
Fold one more heart and connect it two the two hearts at the end of each chain. Then staple all three hearts together. It's kind of hard to explain so try to follow the picture.
How cute is that?
Check out the Crafts and Activities page for more crafting fun!
Happy Valentine's Day!
Subscribe to:
Posts (Atom)